本身
html
Portable Flange Machining Tool for Oil and Gas Pipelines
The oil and gas industry relies heavily on pipelines to transport resources efficiently. Maintaining these pipelines, especially their flanges, is critical for operational safety and efficiency. A portable flange machining tool is an essential piece of equipment designed to address maintenance challenges in the field.
What is a Portable Flange Machining Tool?
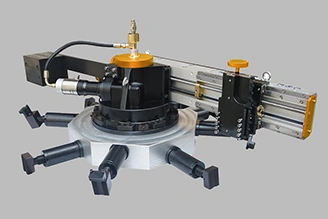
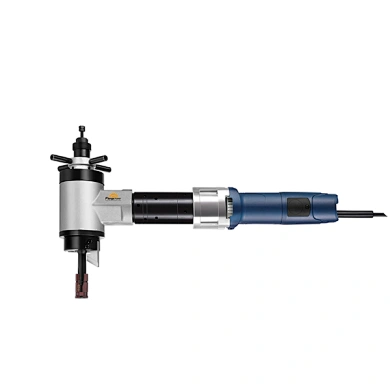
A portable flange machining tool is a compact, mobile device used to repair, resurface, or machine flanges on oil and gas pipelines without the need for disassembly. These tools are engineered to perform precision machining tasks such as facing, grooving, and beveling directly on-site, reducing downtime and labor costs.
Key Features of Portable Flange Machining Tools
Modern portable flange machining tools come with several advanced features, including:
- Lightweight and Compact Design: Easy to transport and set up in confined spaces.
- High Precision Machining: Ensures accurate flange resurfacing for optimal sealing.
- Versatility: Compatible with various flange sizes and materials.
- On-Site Operation: Eliminates the need to remove flanges, saving time and resources.
- Durability: Built to withstand harsh industrial environments.
Applications in the Oil and Gas Industry
Portable flange machining tools are widely used in:
- Pipeline maintenance and repair.
- Flange resurfacing to prevent leaks.
- Emergency repairs in remote locations.
- Preventive maintenance to extend pipeline lifespan.
Benefits of Using Portable Flange Machining Tools
Investing in a portable flange machining tool offers numerous advantages:
- Cost-Effective: Reduces the need for expensive pipeline disassembly.
- Time-Saving: Minimizes downtime by enabling on-site repairs.
- Improved Safety: Reduces risks associated with transporting damaged flanges.
- Enhanced Efficiency: Ensures precise machining for better pipeline performance.
Conclusion
Portable flange machining tools are indispensable for maintaining the integrity of oil and gas pipelines. Their ability to perform high-precision machining on-site makes them a valuable asset for any pipeline maintenance team. By investing in these tools, companies can ensure operational efficiency, safety, and cost savings in the long run.